Building your own digital stage sounds glamorous until you’re staring at a laptop, a cheap microphone, and a blinking internet router five minutes before showtime. Learning how to host free live stream events is really about building a simple production chain that works without depending on an expensive studio or a complicated platform.
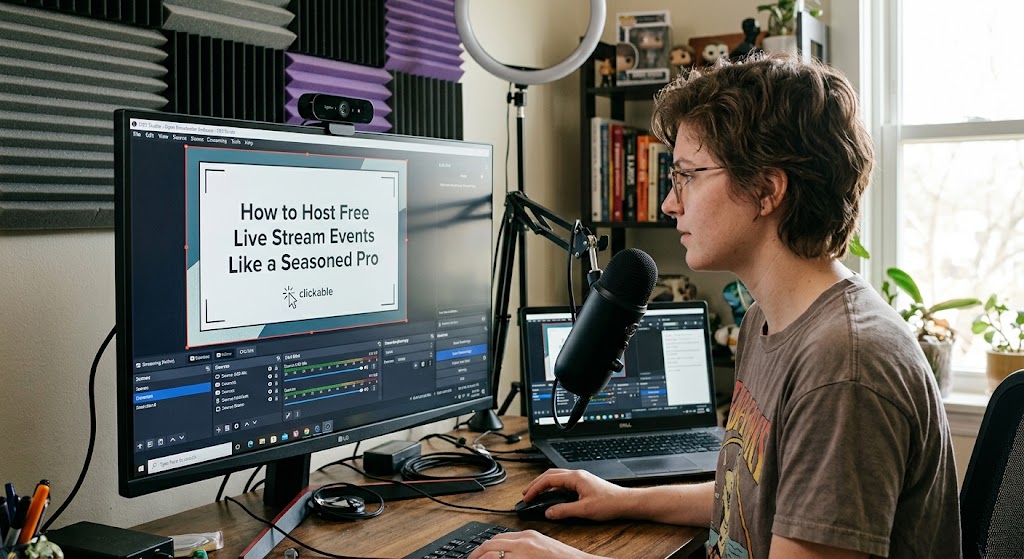
The good news is that you can get surprisingly far with free software, YouTube or Twitch, a webcam, a microphone, and a reliable connection. OBS Studio, for example, is free, open source, and supports multiple scenes, cameras, browser sources, audio, and transitions.

1. Build an Independent Broadcasting Setup Without Renting a Studio
The trick isn’t owning everything. It’s making each piece of the setup do one job properly.
Start With OBS Studio and One Reliable Camera
OBS Studio is a strong starting point because it doesn’t charge a subscription and doesn’t impose watermarks or commercial-use restrictions.
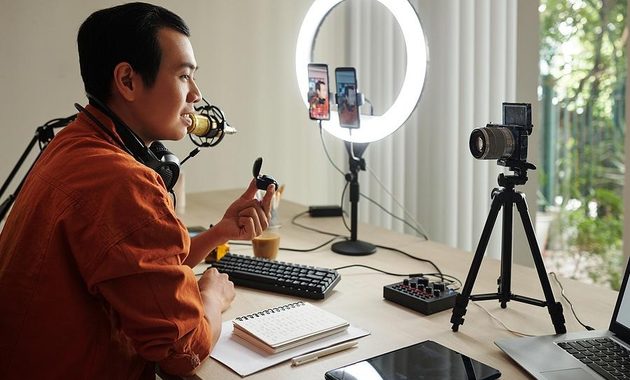
For a basic talk show, you can use:
- Laptop or desktop computer
- USB webcam or compatible camera
- USB microphone or headset
- Headphones
- Stable internet connection
- OBS Studio
- YouTube Live or Twitch as the destination
Don’t overbuild your first production. One camera with good lighting usually looks better than three cameras that keep dropping frames.
Treat Your Streaming Event Setup Like a Small TV Show
Create separate OBS scenes before going live:
- Opening for your countdown or introduction
- Main Camera for the host
- Interview for guests
- Screen Share for presentations or demonstrations
- Break for temporary pauses
- Ending for your closing message
This makes switching between segments almost boringly easy. That’s exactly what you want during a live show.
Use Server Integration Only When You Actually Need It
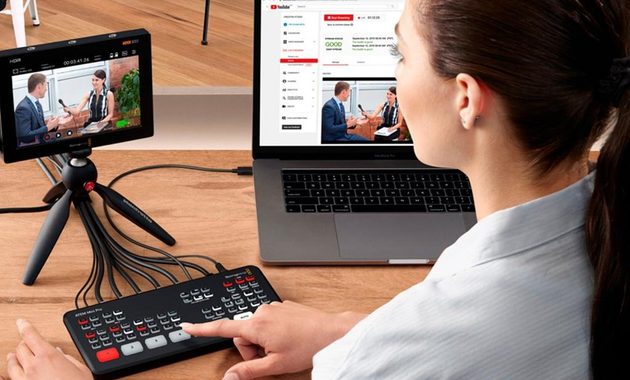
A self-hosted server can give you more control, but it also introduces another technical layer. For most independent creators, sending the feed directly from OBS to YouTube or Twitch is easier.
YouTube’s encoder workflow uses a stream URL and stream key to connect your encoder with its Live Control Room.
For a more secure connection, YouTube recommends RTMPS, which encrypts the stream between your encoder and Google’s servers.
Don’t Confuse Free With Zero Preparation
Before your event, run a private or unlisted test.
Check:
- Microphone volume
- Camera framing
- Lighting
- Internet upload stability
- Screen sharing
- Scene transitions
- Guest audio
- Background noise
- Stream preview
YouTube specifically recommends testing audio and movement similar to what you’ll actually do during the event and monitoring stream health while broadcasting.
2. Make Audience Engagement Part of the Show Instead of an Afterthought
A technically perfect broadcast can still feel dead.
The audience needs something to do.
Give Viewers a Reason to Stay
Build simple interaction into your format:
- Ask a question during the opening five minutes.
- Read selected comments aloud.
- Let viewers vote between topics.
- Bring audience questions into the interview.
- Give viewers a clear moment to participate.
This is where audience engagement becomes more than a marketing phrase. You’re turning passive viewers into participants.
You don’t need flashy widgets everywhere. A host who actually notices the chat can feel more personal than a broadcast covered in animated alerts.
Create a Simple Run of Show
For a 60-minute discussion, try:
00:00–05:00 Welcome and hook
05:00–20:00 Main topic
20:00–40:00 Guest discussion
40:00–52:00 Viewer questions
52:00–58:00 Final takeaway
58:00–60:00 Next-event announcement
That structure gives you enough breathing room when something inevitably goes sideways.
If your event involves sports, don’t assume every broadcast is automatically legal just because your technical setup is free. Rights and licensing still matter. For a useful overview, see these legal options for sport live streams.
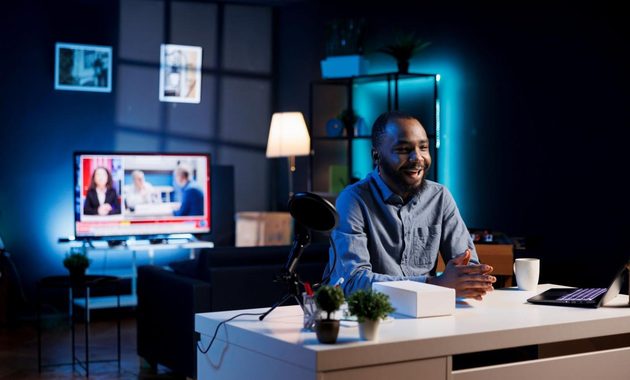
3. Keep the Independent Broadcasting Workflow Simple Enough to Repeat
The best production system is the one you can run again next week without wanting to throw the microphone out the window.
A practical workflow looks like this:
Before the event
- Schedule the broadcast.
- Prepare title, description, thumbnail, and guest information.
- Test every source.
- Save your OBS scene collection.
- Prepare backup slides or a holding screen.
- Send guests their joining instructions.
During the event
- Start the encoder early.
- Check the preview before going public.
- Keep headphones nearby.
- Watch stream health.
- Monitor the chat.
- Keep a backup communication channel with guests.
After the event
- Stop the encoder cleanly.
- Check the archived recording.
- Note technical problems.
- Save useful clips.
- Record viewer questions for the next episode.
YouTube automatically archives live streams under 12 hours, making the broadcast useful beyond the live moment itself.
For a creator starting from home, this is the sweet spot. You’re not trying to recreate a television network. You’re creating a repeatable independent broadcasting workflow that looks professional because it is organized.
And that’s the real secret.
The expensive-looking stream isn’t always the one with the most equipment. It’s usually the one where the camera works, the microphone sounds clean, the host knows what’s coming next, and the audience never notices how many moving parts are hiding behind the screen.
Q&A
Can I run a professional-looking live event using only free software?
Yes. OBS Studio can handle scenes, cameras, audio, screen capture, and transitions without a paid license. Your main costs are hardware, internet access, and any platform-specific services you choose to add.
Do I need my own streaming server to broadcast independently?
Not necessarily. YouTube or Twitch can handle delivery while OBS acts as your production and encoding software. A private server becomes more useful when you need greater control over distribution, authentication, or a more advanced production architecture.
What matters more for a free livestream, camera quality or microphone quality?
For a talk-based event, prioritize understandable audio. Viewers are usually much more forgiving of an ordinary webcam than a voice that sounds distant, distorted, or constantly interrupted.

Thiago Valença has worked with community media projects, public cultural institutions, and digital content partnerships. He has helped audiences find free broadcasts of lectures, local festivals, public meetings, educational programs, and independent performances. His articles focus on legitimate free livestreams, open-access content, ad-supported services, and the warning signs of unsafe or misleading streaming websites.